1- What is microcement flooring?
Microcement is a cement coating modified with polymers, chemical additives and pigments that is applied with a thickness of 2 to 3 mm on various surfaces. This material is seamless and can be applied on concrete, ceramic, stone, mosaic and even old floors.
2- Advantages of microcement flooring
Very low thickness (no increase in floor level)
Excellent adhesion to all types of substrates
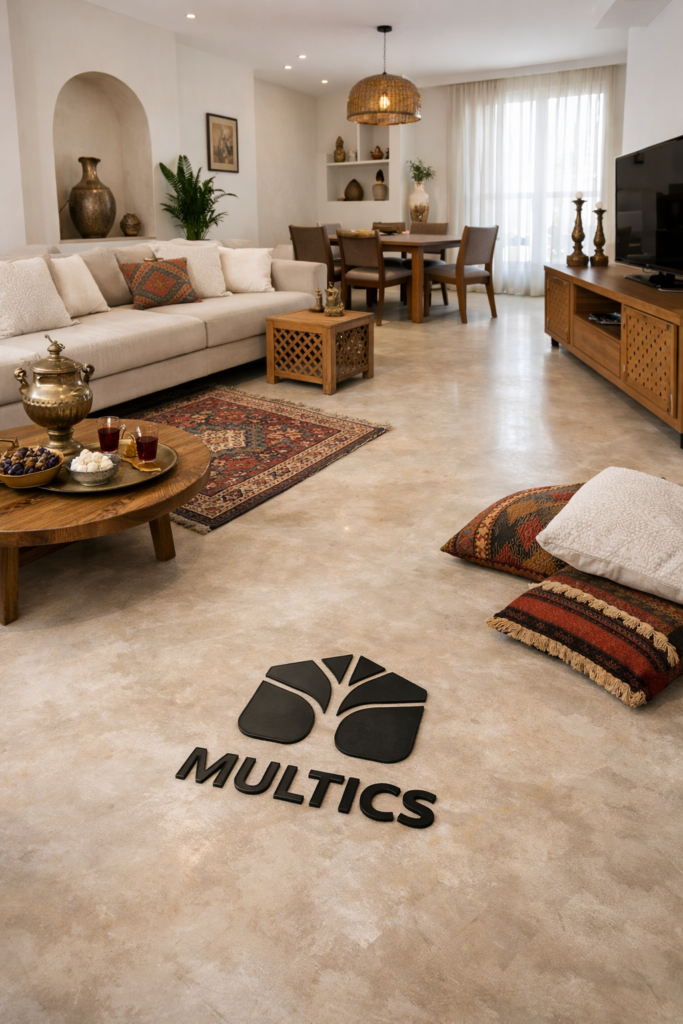
Modern and integrated appearance
Suitable abrasion resistance
Ability to seal with specialized sealers
Variety of colors and textures
3- Suitable substrate conditions for applying microcement flooring
The final quality of microcement depends more on the substrate than anything else. The substrate must have the following conditions:
Completely stable and vibration-free surface
No active cracks
Humidity less than 4%
Free of dust, grease and loose materials
Relative level
Acceptable substrates
Fresh concrete (at least 28 days cured)
Old, sound concrete
Ceramics and stone (after appropriate sanding and primer)
4- Microcement Floor Application Steps (Step by Step)
4-1. Surface Preparation
Mechanical sanding to create roughness
Repair cracks with polymer repair mortar
Complete removal of dust
Any weakness at this stage will cause peeling or final cracking.
4-2. Application of a special primer for microcement
Primer plays a key role in adhesion.
Acrylic or epoxy primer (depending on the type of substrate)
Application with a roller or brush
Drying time: 2 to 6 hours
3-4. Installation of fiberglass mesh (reinforcement layer)
4×4 or 5×5 mm mesh
Complete immersion in the base layer
Prevent hairline cracks
This step is especially crucial in high-traffic floors.
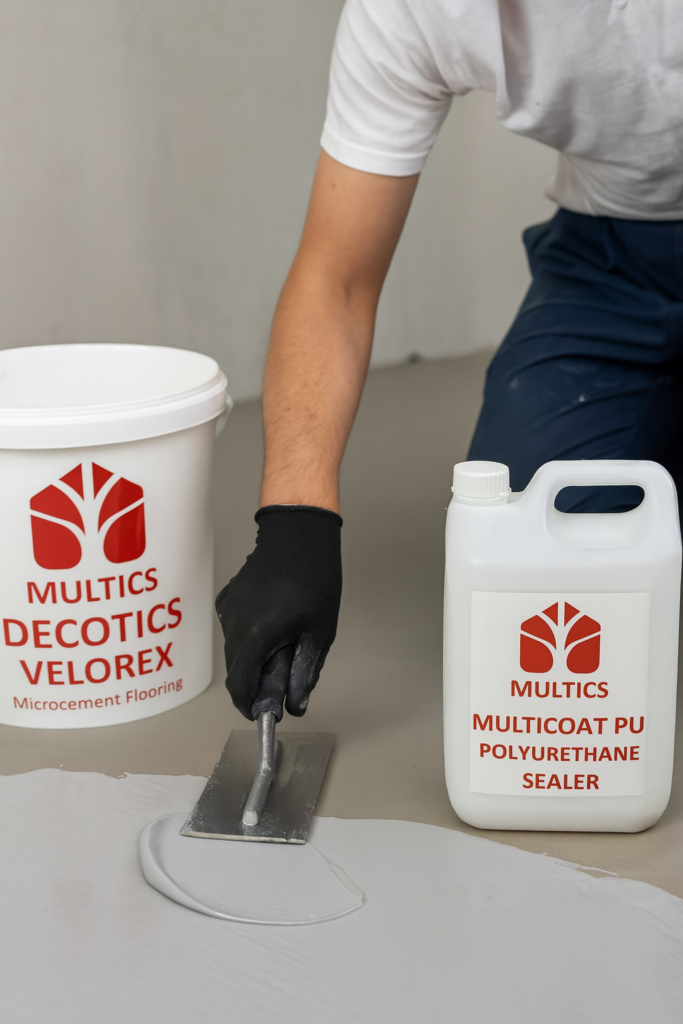
4-4. Application of microcement base layer
Thickness of each layer: about 1 mm
Application with a steel trowel
Usually 2 to 3 layers
Soft sanding between layers
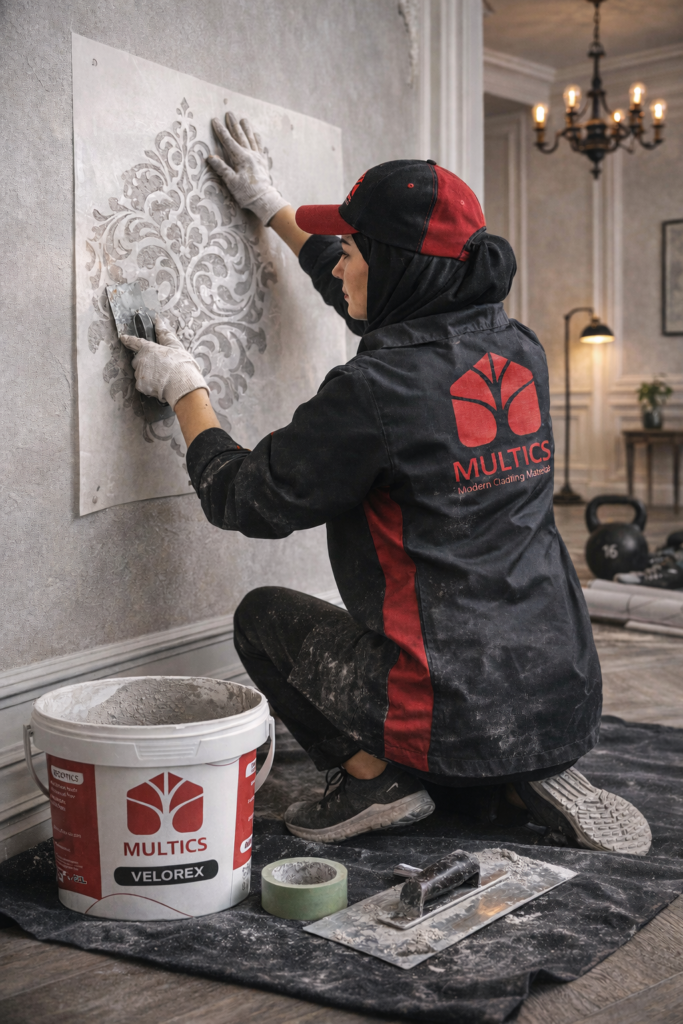
4-5. Application of the final layer (Finish Coat)
The final layer determines the texture and beauty of the surface
Possibility of creating different effects (cloudy, concrete, polished)
Application of 2 or 3 thin layers
Very soft sanding after drying
4-6. Final sealing and sealing (Sealer)
Without a sealer, microcement is vulnerable to water and stains.
Polyurethane or acrylic sealer
Usually 2 or 3 coats
Option to choose matte, semi-matte or glossy sealer
5- Very important technical points in applying microcement flooring
Ideal ambient temperature: 10 to 30 degrees Celsius
Do not apply in high humidity environments
Mixing thoroughly according to the product datasheet
Use clean tools in all stages
Do not wash the floor for 72 hours after the final seal
6- Common mistakes in applying microcement flooring
Remove reinforcing mesh
Applying high thickness in one stage
Use of inappropriate primer
Weak or insufficient sealer
Performance by unskilled labor
7- Conclusion
Applying microcement flooring is a highly specialized process that requires proper subflooring, high-quality materials and proper implementation. Following the steps and technical points mentioned will guarantee the durability, beauty and long-term performance of this modern coating.
If you plan to use microcement flooring in your projects, it is recommended to use trained implementation teams and standard Multics products.
8- Frequently Asked Questions About Microcement Flooring
– Does microcement flooring crack?
If the subfloor is properly prepared and a mesh is used, the likelihood of cracking is very low.
– Is microcement suitable for industrial flooring?
Yes, by choosing the right system and a resistant sealer.